
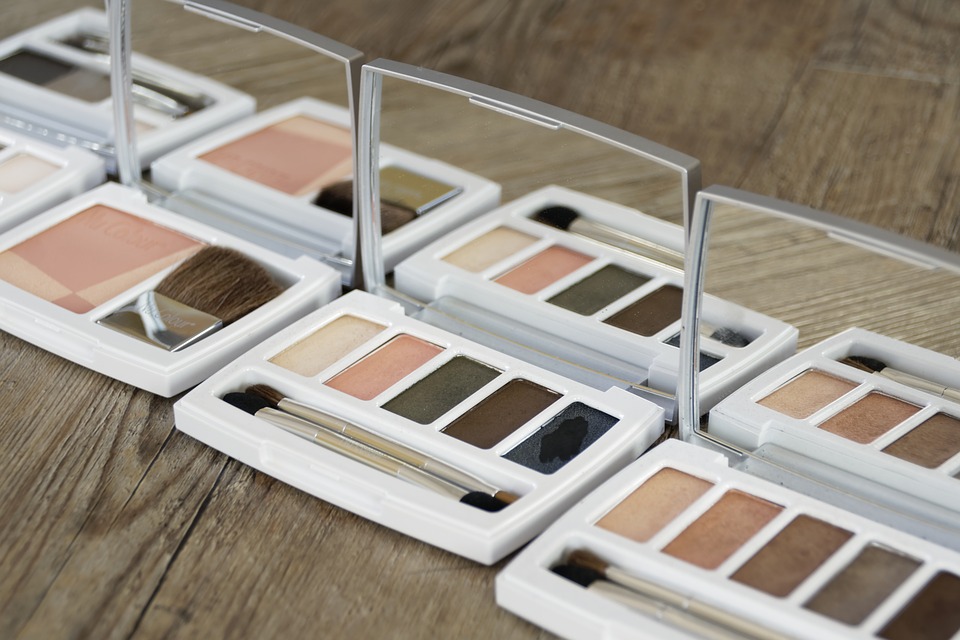
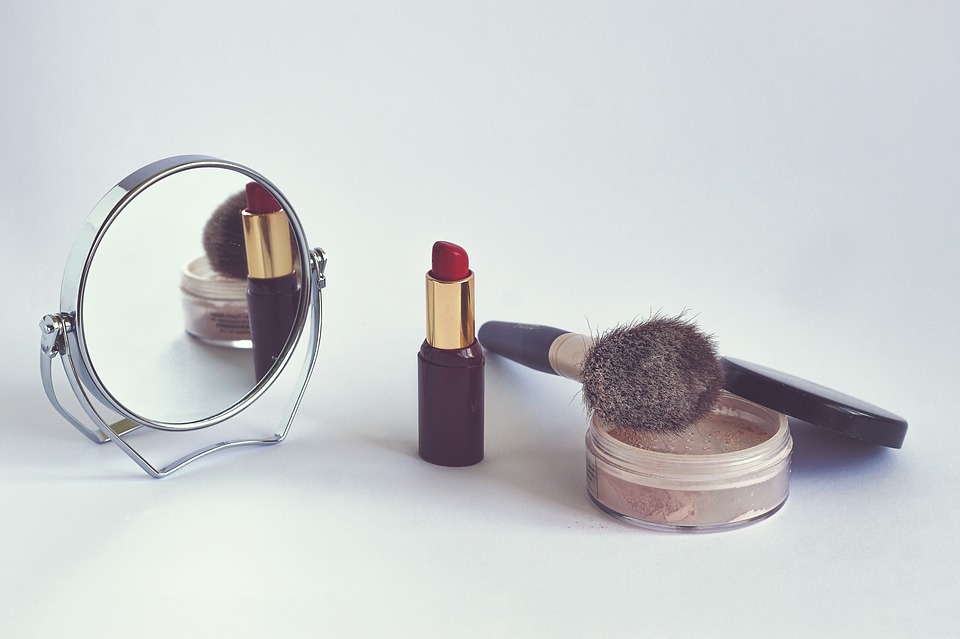
We love makeup! After all who can resist a gorgeous new shade of lipstick, eyeshadow, or nail paint displayed on the counters of the mall. But, haven’t you often come home pleased with your new purchase only to find that you already have something similar at the back of the dresser drawer? Which is why you absolutely need DIY makeup organizers. These smart ideas place your cherished shades exactly where you can see them. Try them and you’ll find that getting ready for work or a party is so much easier when you can find just what you’re looking for.
Here are some ideas that can save you the bother of rummaging through that dresser drawer searching for that perfect color you know you bought a week back.
1. Candle Jars
Look for glass candle jars that match the height of your lipsticks and nail polishes. Stand your favorite tints up in the jar with the colors displayed clearly so you can spot them easily. These glass jars can also keep little knick knacks sorted like lip balms and tiny tubes of concealers, eye shadows, mascara, and eyeliners. You can also pick out taller jars to carry your makeup brushes. Fill the bottom with smooth crystals and you have a simple yet smart DIY makeup organizer. And, yes! Mason jars work perfectly well too!
2. Shallow Trays
Shallow trays made with cardboard or wood work very well to keep your makeup sorted. All you need to do is cover the trays with pretty paper and decorate with some fancy ribbons. Place the tray on the top of your dresser and you can reach for all your things in just a jiffy. Consider using different trays for formal shades and everyday use, and you’ll find it even easier pick out the items you need in a hurry.
3. Deeper Sectioned Boxes
Use your creativity to create deeper DIY makeup organizers. Get hold of a cardboard box that is about 4 inches deep. Cover it with wrapping paper and line with felt. Cut out and attach smaller pieces of cardboard to create sections that can carry nail paints, lipsticks, blushes, eyeshadows, and different kinds of pencils that you use to accentuate your eyes and lips. Place the tray on the dresser, step back, and admire your handiwork.
4. Metal Makeup Boards
Metal makeup boards are perfect for users who haven’t much space on their dressers. Cover the sheet with some printed fabric and attach it to the wall beside your dresser. Now, glue magnets to the back of your makeup and place each item on the board. This DIY makeup organizer gives you perfect visibility and is very handy. As and when you’re done with each item, stick it back on the board.
5. Ice Cube Trays
Ice cube trays are perfect for organizing your nail polishes, lipsticks, and other tubes and bottles. Invert the tray and cut round holes to match the sizes of the bottle caps. Place the bottles upside down in the tray so you can spot the shade you’re looking for instantly. If you like, you can always dress up the tray with some printed fabric, wrapping paper, laces, and ribbons, or simply good old paint. Go ahead and give your imagination a free reign with this one.
6. Mesh Trays or Containers
In place of simply tossing your makeup in the dresser drawer, you can sort the items and place them in individual mesh trays. Or, better yet, stop by at the container store and buy the perfectly-sized boxes that can carry your things and keep them organized. When getting ready, pick out the shades you need and place them back when you’re done.
There you go! 6 simple and handy ideas for keeping your makeup sorted and easy to find!