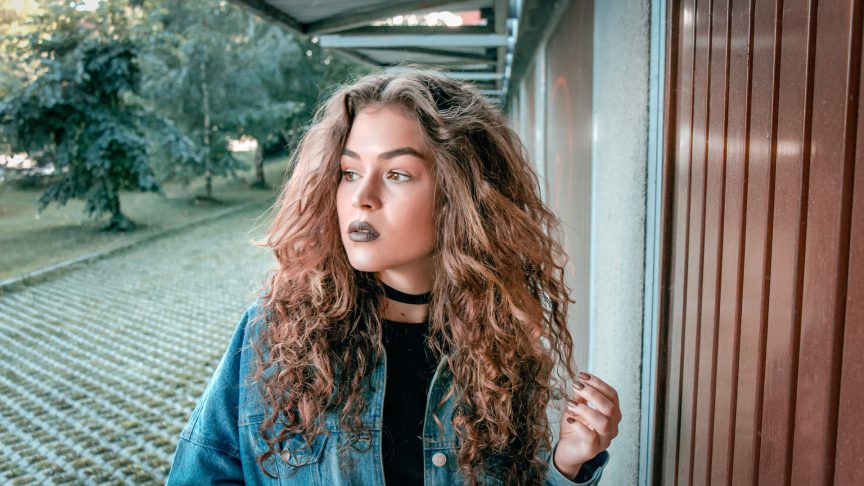
Celebs like Kim Kardashian, Kylie Jenner, and Bella Hadid have all rocked iverson braids, and let’s just say they’re epic!
If you think that you need a professional hair stylist to get this look, then we’ve got great news for you! You actually don’t need to go into the hair salon to get this look. That’s right, you can easily achieve this look at home and we’ve got all the details.
Why we love iverson braids
Before actually getting into the guide, let’s take a look at why this look is so brilliant.
Firstly, iverson braids are so versatile and can match up to just about any style. It looks effortlessly chic, yet very trendy. Celebs and models have all had this specific look and it can instantly transform an entire look.
Then, there’s the fact that this hairstyle is just so fun and easy going. It’s great to wear for all occasions because it’s glam and let back all at once.
Here’s how to get the look:
Part the hair
For the first step, grab a comb and try to accurately part the hair in the middle. If you want a slightly different look then change it up by parting the hair slightly towards left or right.
Smooth out the hair
After defining the hair part, brush out each side of the hair to remove any knots or tangles. This step will make it a lot easier when for you when it’s time to start the braid.
Tie up the one side of the hair
After removing the tangles from your hair, securely tie the one side of the hair with an elastic band. This is just to keep it apart from the hair you will be working with.
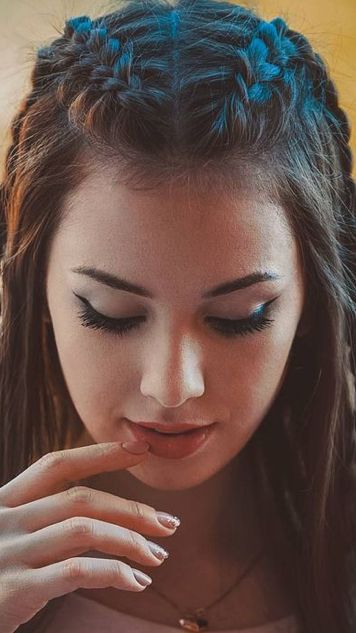
Apply gel to the hairline
Use your favorite hair gel and apply it to a little less than a quarter of the head. This is to help keep all fly-away hairs flat and out of the way. After applying the gel, use a comb or hairbrush to ensure that all the hair is even and flat.
Grab a section and divide
For this step, it’s vital to use the corner section towards the part. This will be the actual point where the iverson braid starts. From this section, divide the hair into three equal parts.
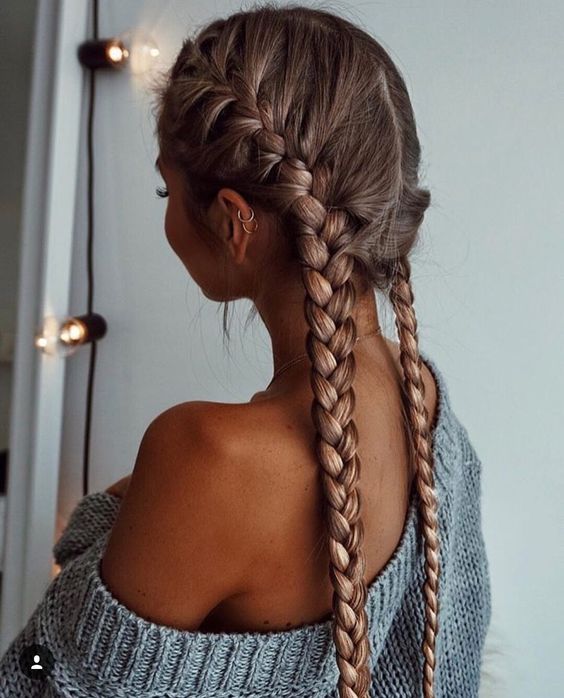
Braid the hair
Braid the three sections that you have just separated a few times (roughly around 4 times). On the next braid, you will need to start taking hair from the outer section. This hair will need to be incorporated into the first braid. It will go immediately under, to the bottom of the braid.
Keep grabbing hair as you go along and make certain to braid it with each of the pieces. Essentially, you will always be braiding three pieces of hair while simultaneously going down. Repeat this until you can’t grab any more hair.
Also, you might notice the braid getting slightly thicker as you go along. This is completely fine, especially if you have thicker hair.
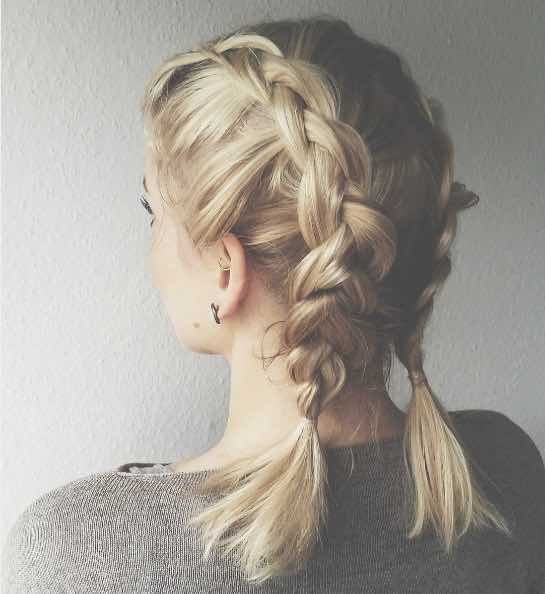
Tie the hair and secure
After you’ve reached the end tie the hair with an elastic band. Finish of with some holding spray or gel to keep all hair neatly together.
Continue to the next side
After getting all these steps done, start on the other side of the hair. On the other side, you will need to repeat this exact process again.
Finish off the braid with gel
If you notice any baby hairs popping up on the hairline, finish it off with some hair gel and comb down.
What’s the best hair type for iverson braids?
Ideally speaking, the best hair type for iverson braids is medium to long hair. This is mainly because the braid will be able to sit perfectly without any pieces coming out.
However, if you have shorter hair you might still be able to get this look. It just might not be as easy because shorter hair pieces will not particularly stay in place. Although, you could always add on some clip in hair extensions and you’re good to go.
Iverson braids for hair growth
Besides looking good, iverson braids have also been said to help tremendously with hair growth. If you’re trying to grow your hair out then this hairstyle might be a great option for you. Simply apply some amla oil to the hair instead of hair gel/ holding spray.