
Invisible braids have been around for a long time and they’re known for being trendy and popular amongst both celebs and models. In case you’re thinking of getting this hairstyle, we’ve taken the liberty of providing you with the ultimate guide to these braids.
What are invisible braids?
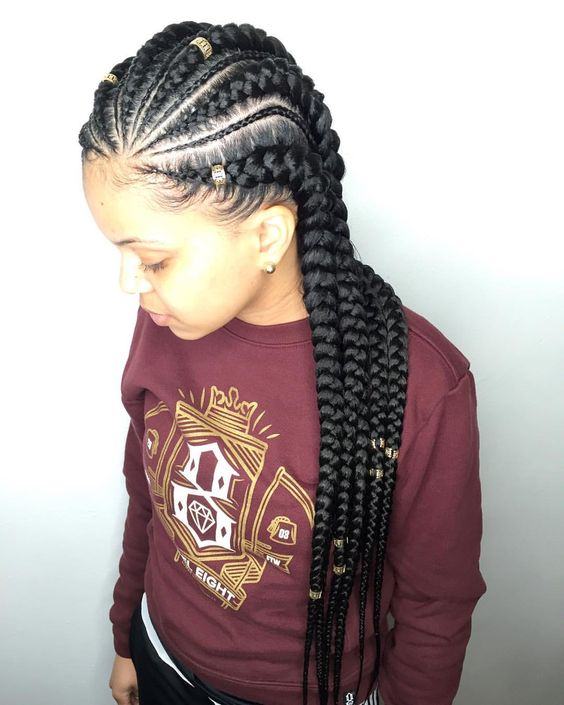
Invisible braids are similar looking to any other braids. However, the technique used for this hairstyle is a little different compared to regular braids.
The process involves taking small strands of hair and braiding them together so that they appear as a single strand of hair. Usually, it’s quite difficult to see these braids because of how small they are braided at the roots of the hair.
Furthermore, these braids are woven from the scalp and usually never exceed an inch or two. They give a very natural appearance, which is always great.
How to get invisible braids
Before starting with invisible hair ensure that the hair is washed and dried out thoroughly. Next, you will need to brush the hair to remove any knots and tangles before proceeding.
Part the hair
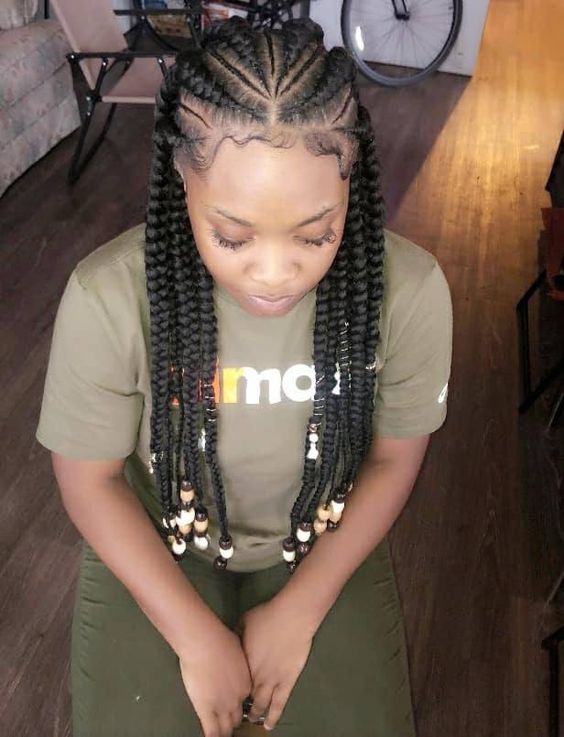
Once you have prepped the hair it’s time to get to the first step of this guide. Start by parting the hair evenly into five sections. You can use a pintail comb in order to separate the hair and get it all where it needs to be.
Work with one section at a time
Start with the first section of the hair and comb the hair to ensure that it’s tangle free. Next, you will want to start creating a small part to work with. Grab your pintail comb to straighten up the path, and then apply a holding product to keep along the roots of the part.
Small Braids
Once you have gotten the hair sectioned and applied the holding product it’s time to start the invisible braids. Take three small strands of hair and braid them tightly along the part. This braid should go right up until just before the nape of the neck.
Move on to the next section
Once you have completed the first part of the braid, it’s time to repeat the process and move on. Work with one section at a time and evenly part the hair and braid. Remember to use the holding product or gel so that there are no flyaway hairs.
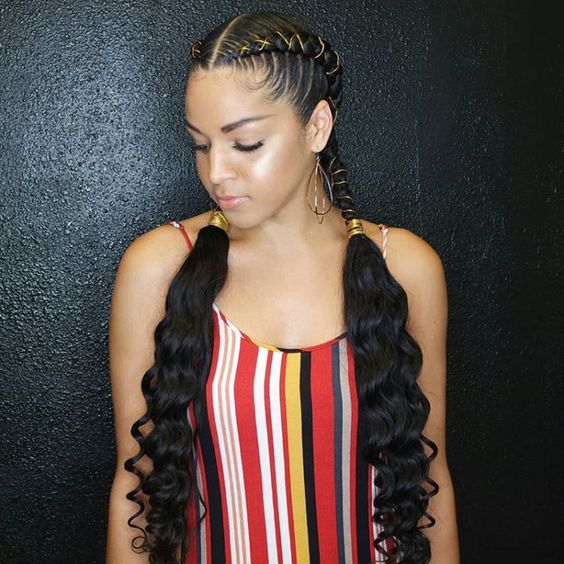
Add on the hair extensions
This step involves incorporating the hair extensions to the braided pieces. You can apply it directly to the braid by weaving it in, which might take some time. Once the hair extensions are woven in you can choose to leave it as is or continue braiding right up until the end.
Soak the hair in warm water
If the edges of the hair extensions are very stiff then we would suggest immersing it in a jug of warm water. However, only the tips of the hair should be soaked in the water. This will allow it to soften and give it a beautiful and natural look.
What hair should you use for invisible braids?
The best hair to use for this hairstyle is definitely human hair because of the final result. Also, using human hair, in the long run, is better because of maintenance.
If you want to create an edgy look then get two different colors and incorporate them together. This will look like you have highlights and the results are amazing.
Going to a professional VS doing it yourself
There’s no doubt that this particular hairstyle can be quite challenging to do. It certainly takes up a lot of time and a lot of effort. If you feel that you are skilled enough to do this yourself, then that’s superb. It’s always a good idea to practice on others so that you can see what it takes. That way you’ll have a clearer vision of what is required.
However, it’s a lot easier to get these braids done by a hairstylist who specializes in this area. You will save a lot of time and the process will be a lot easier.
Is this the look for you?
There’s no doubt that invisible braids are absolutely stunning, however, they can be pricey. If you’re looking for a new hairstyle and you’re willing to splurge a little, then yes. However, if you’re on a tight budget then this look might not be economical for you.
You can always save up and get this hairstyle in the future.